
Graveyard Keeper 2 Walkthrough: Main Quests and Unlocks
The safest way to follow a Graveyard Keeper 2 walkthrough is to treat the main quests as the game’s unlock map. A quest is often more than a delivery task: it can open the church, the forest, town restoration, zombie automation, fast travel, or a new branch of the technology tree. If a recipe or area appears unavailable, check the active quest chains before spending hours searching for a missing material.
How to Follow the Main Route
Start by completing the opening tasks around the graveyard, house, morgue, and nearby production stations. Keep the current quest list visible while you work: the next useful unlock is often attached to a character rather than to a technology icon. The collected walkthrough material repeatedly points to the same rule: when a branch is blocked, inspect the character connected to that branch before farming random resources.
Do not interpret a greyed-out technology as proof that you need more points. It may instead require a quest, a repaired building, access to a new zone, or a station that has not been introduced yet. The exact requirements can change with the current build, so this page describes the progression logic and marks exact costs as patch-sensitive.
Early Quest Priorities
The early route revolves around learning the cemetery loop: process incoming corpses, improve the graveyard, build basic stations, and keep enough food and energy for travel. The first burial is not just a tutorial objective. It teaches you how grave quality, corpse processing, materials, and later research interact, so it is worth recording which tasks consume rare items before you commit them.
The Merchant, Jack, and the Twins are important names in the collected walkthrough notes because their quest chains help open systems that the player needs later. The church route is also story-gated. Work toward the Nun and the church-opening objectives instead of treating Faith as a resource you can ignore until the late game.
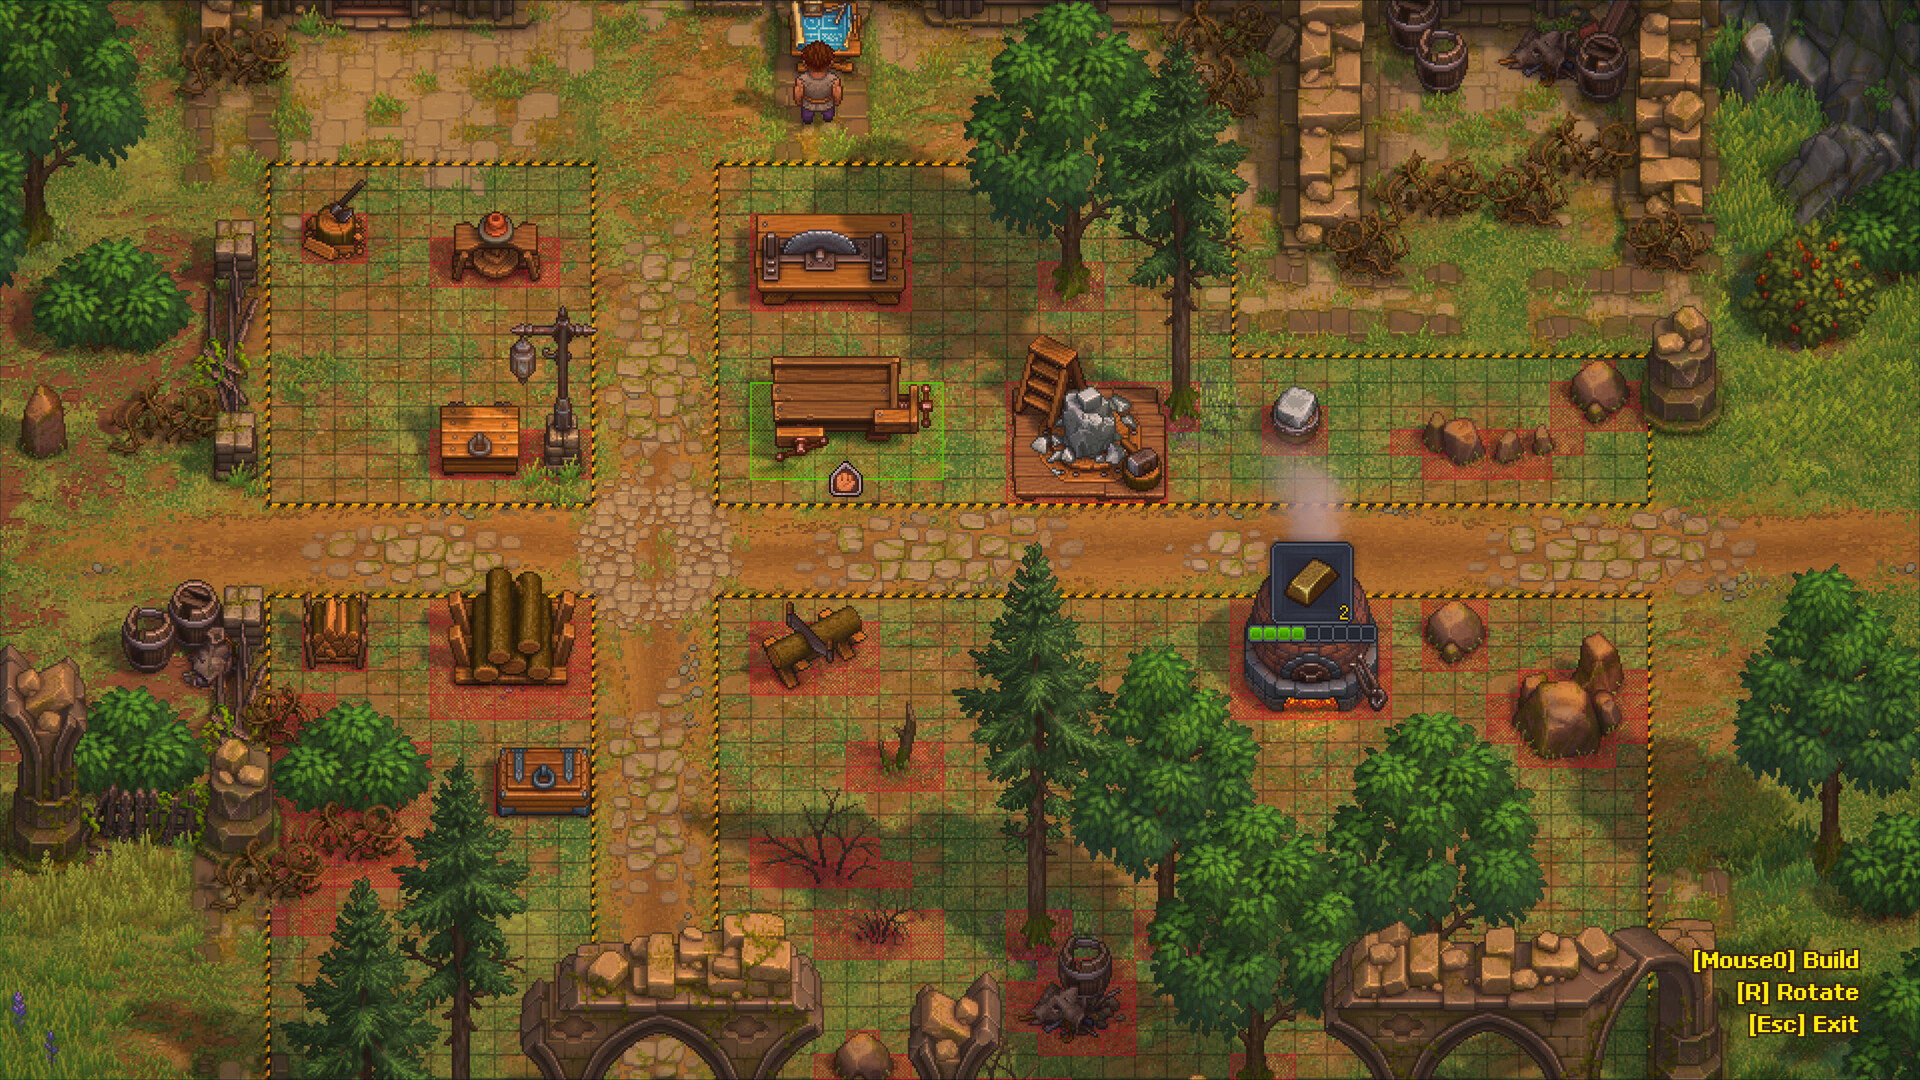
Use the town as a progression checklist. Repairing a house or district can create new services, improve the supply of corpses, or open another market. If you need a resource that is not appearing, the solution may be town restoration rather than a better pickaxe or a longer gathering trip.
Town and Resource Gates
The game becomes easier when you connect every bottleneck to one of four causes: a quest, a technology, a station, or a town location. For example, an iron problem may be caused by mining mastery, a locked forest route, or an automation quest rather than by a shortage of visible ore. A Faith problem may actually be a church-access or attendance problem. A food problem may be a kitchen or farm problem rather than a lack of wild berries.
Organize storage around the next active objective. Keep one working stack of common materials near the station that consumes them, and avoid carrying every item you own while exploring. The research notes also warn that the game’s many paired resources can fill storage unevenly, so a tidy chest layout becomes more valuable as the town and production network grow.
Combat and Midgame Checks
Combat is not a separate endgame activity. The battle material describes territory capture, defensive structures, mercenaries, and rewards that can feed back into town restoration and further exploration. Before starting a battle, check the objective, the approach lanes, your squad slots, your barricades, and the supplies you need to heal or reinforce your position.
After the first battle, revisit the quest list. The collected gameplay notes connect early victories with forest access, zombie automation, and the route toward the underground Factory. That does not mean every player must follow the exact same order, but it does mean that repeatedly grinding the same early station is often less effective than advancing the quest that unlocks the next system.
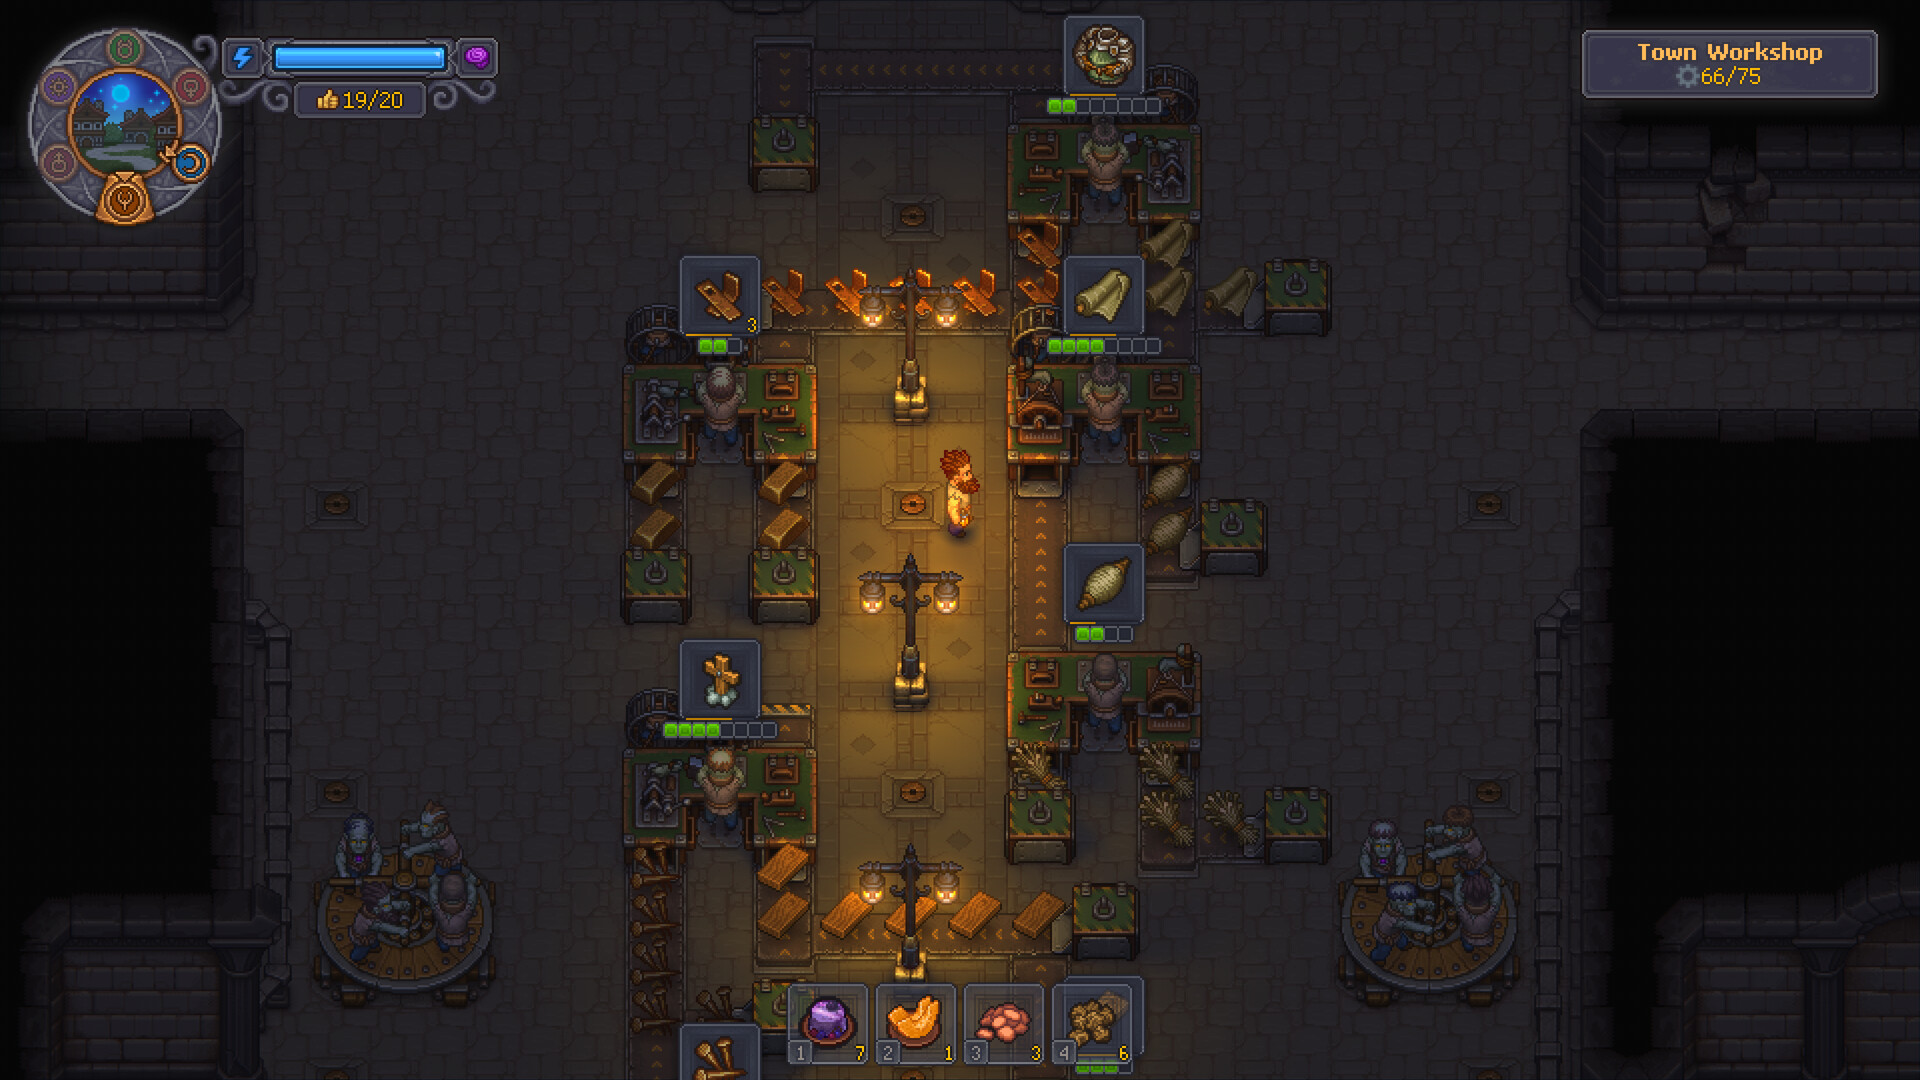
When the Factory becomes available, do not build a large chain immediately. First understand which station produces each input, which machine consumes it, where power comes from, and where the finished item leaves the line. A small working chain is easier to diagnose than a large layout that hides a missing tool, missing supply station, or incorrectly directed conveyor.
What Still Needs Confirmation
The collected material contains long gameplay transcripts and community walkthroughs, so exact quest names, item counts, unlock costs, and the order of some midgame gates should be checked against the current build before being presented as fixed numbers. This page therefore gives a reliable route for deciding what to investigate next rather than pretending that every transcript is a complete official quest list.
For a current save, use this quick checklist: follow the active character quest, check the related technology branch, inspect the station requirement, clear the next story gate, and only then farm the missing material. That approach keeps the walkthrough useful across patches and reduces the risk of copying a route from the demo or from another platform.
Source notes
This page was synthesized from the collected FextraLife beginner walkthrough, Neoseeker walkthrough, and the linked gameplay transcripts. The official Steam store page is used for the game context and imagery. Exact quest costs and patch-sensitive gates remain marked for confirmation unless a primary source exposes them.