
Graveyard Keeper 2 Zombie Workers and Automation Guide
Zombie automation in Graveyard Keeper 2 works best when you remove one repeated bottleneck at a time. A worker does not automatically understand your whole production network: it needs a suitable station, a queue, the right tool, enough Mastery, available inputs, and somewhere for finished output to go. Supplier Stations and the later Factory expand that basic assignment into a larger production chain.
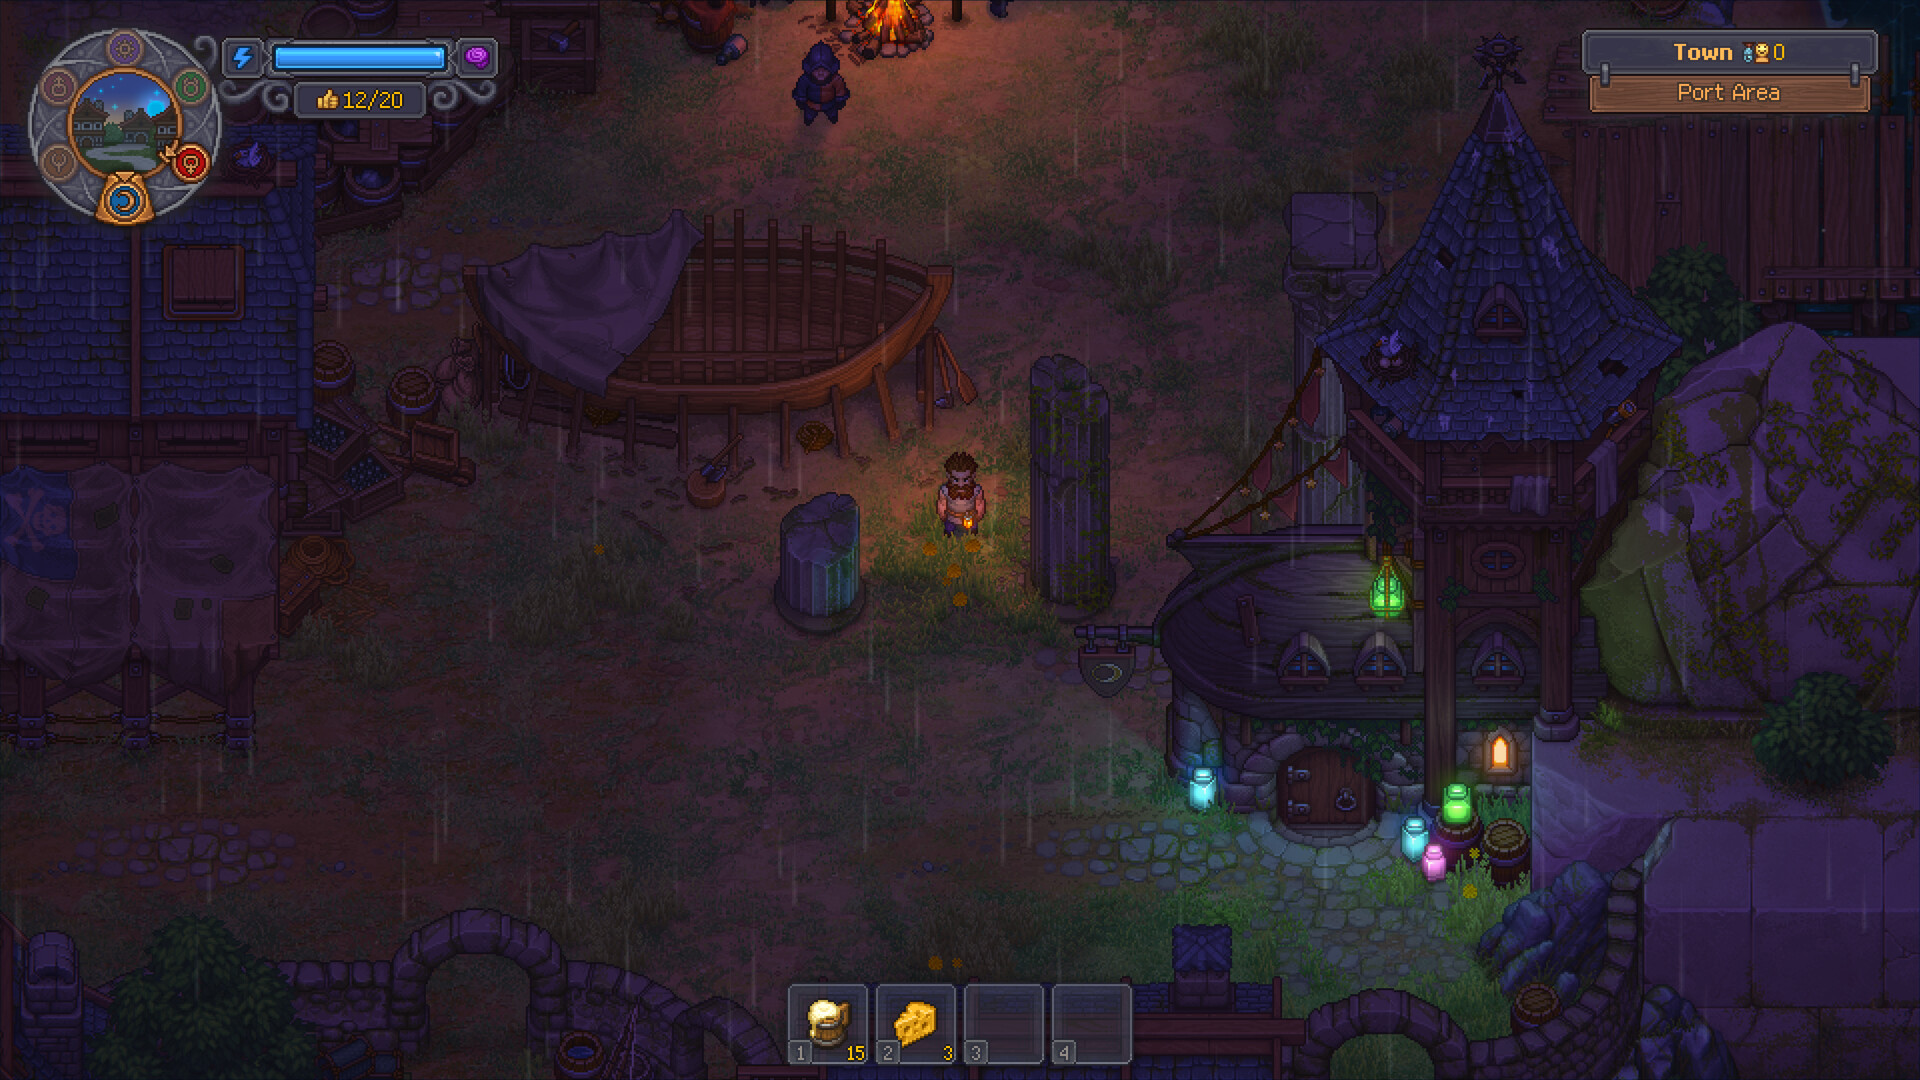
How Zombie Workers Work
Place a zombie at a compatible workstation, queue the job, and give it the equipment that the job requires. The worker can then repeat that queue without using the Keeper’s energy. This is useful for dependable production, but it is not the same as a fully autonomous logistics network: a normal worker stays at the assigned station and does not decide what the rest of your operation needs.
The most common reason for an idle zombie is not a bug. Check whether a recipe is queued, whether the ingredients are available, whether the worker has enough Mastery, whether the correct tool is equipped, and whether finished output is blocking the workstation. A supplier can solve missing inputs, but it does not remove every collection task.
How to Get Your First Zombies
The collected research links the first workers to story progression, the Plague Doctor, Reanimation technology, and the Resurrection Lab. The exact point at which each system becomes available can depend on the current version and platform, so use the active quest as the final authority in your save.
For additional workers, prepare a suitable corpse, the relevant resurrection station, reanimation liquid, and a collar that can support the body’s red-skull total. The notes also report a weekly activation rhythm for resurrection. Treat the timing as a planning hint rather than an unconditional rule until you confirm it in the current build.
Do not resurrect every corpse simply because you can. Early collars, liquids, and station space are limited. Pick a job first, then choose a worker who can meet that job’s requirements.
Mastery, Tools, and Red Skulls
Worker zombies have their own Mastery and talent progression. They do not automatically inherit the Keeper’s skill level. If a recipe asks for more Mastery than the zombie has, production can stop before anything useful happens. Equipping the appropriate axe, pickaxe, hammer, or other tool is equally important.
Red skulls behave differently for workers than they do for graves. The collected automation guide treats red-skull capacity as the ceiling for a zombie’s personal talent progression, while white skulls are not the same direct worker advantage they are for cemetery quality. This is why a corpse that looks poor for burial may still be valuable as an employee.
Let workers specialize where possible. A zombie that repeatedly performs one type of job accumulates Technology Points and develops a related talent branch. Moving every worker between unrelated stations may look flexible, but it makes it harder to build a dependable specialist workforce.
Supplier Stations
Supplier Stations are the bridge between a stationary zombie and an actual production loop. After the relevant technology is unlocked, assign a supplier to the station and keep shared storage close to the benches it serves. The supplier can move requested ingredients into the local production area, but it still depends on a sensible storage layout and valid requests.
Use this pattern for a small network:
- Put common raw materials in storage near the workstations.
- Assign a specialist zombie to each repeatable production bench.
- Queue only recipes whose demand you understand.
- Assign a supplier to carry missing inputs.
- Collect finished goods before they block the workstation.
This setup is more reliable than assigning several zombies and hoping they will discover the correct chain themselves.
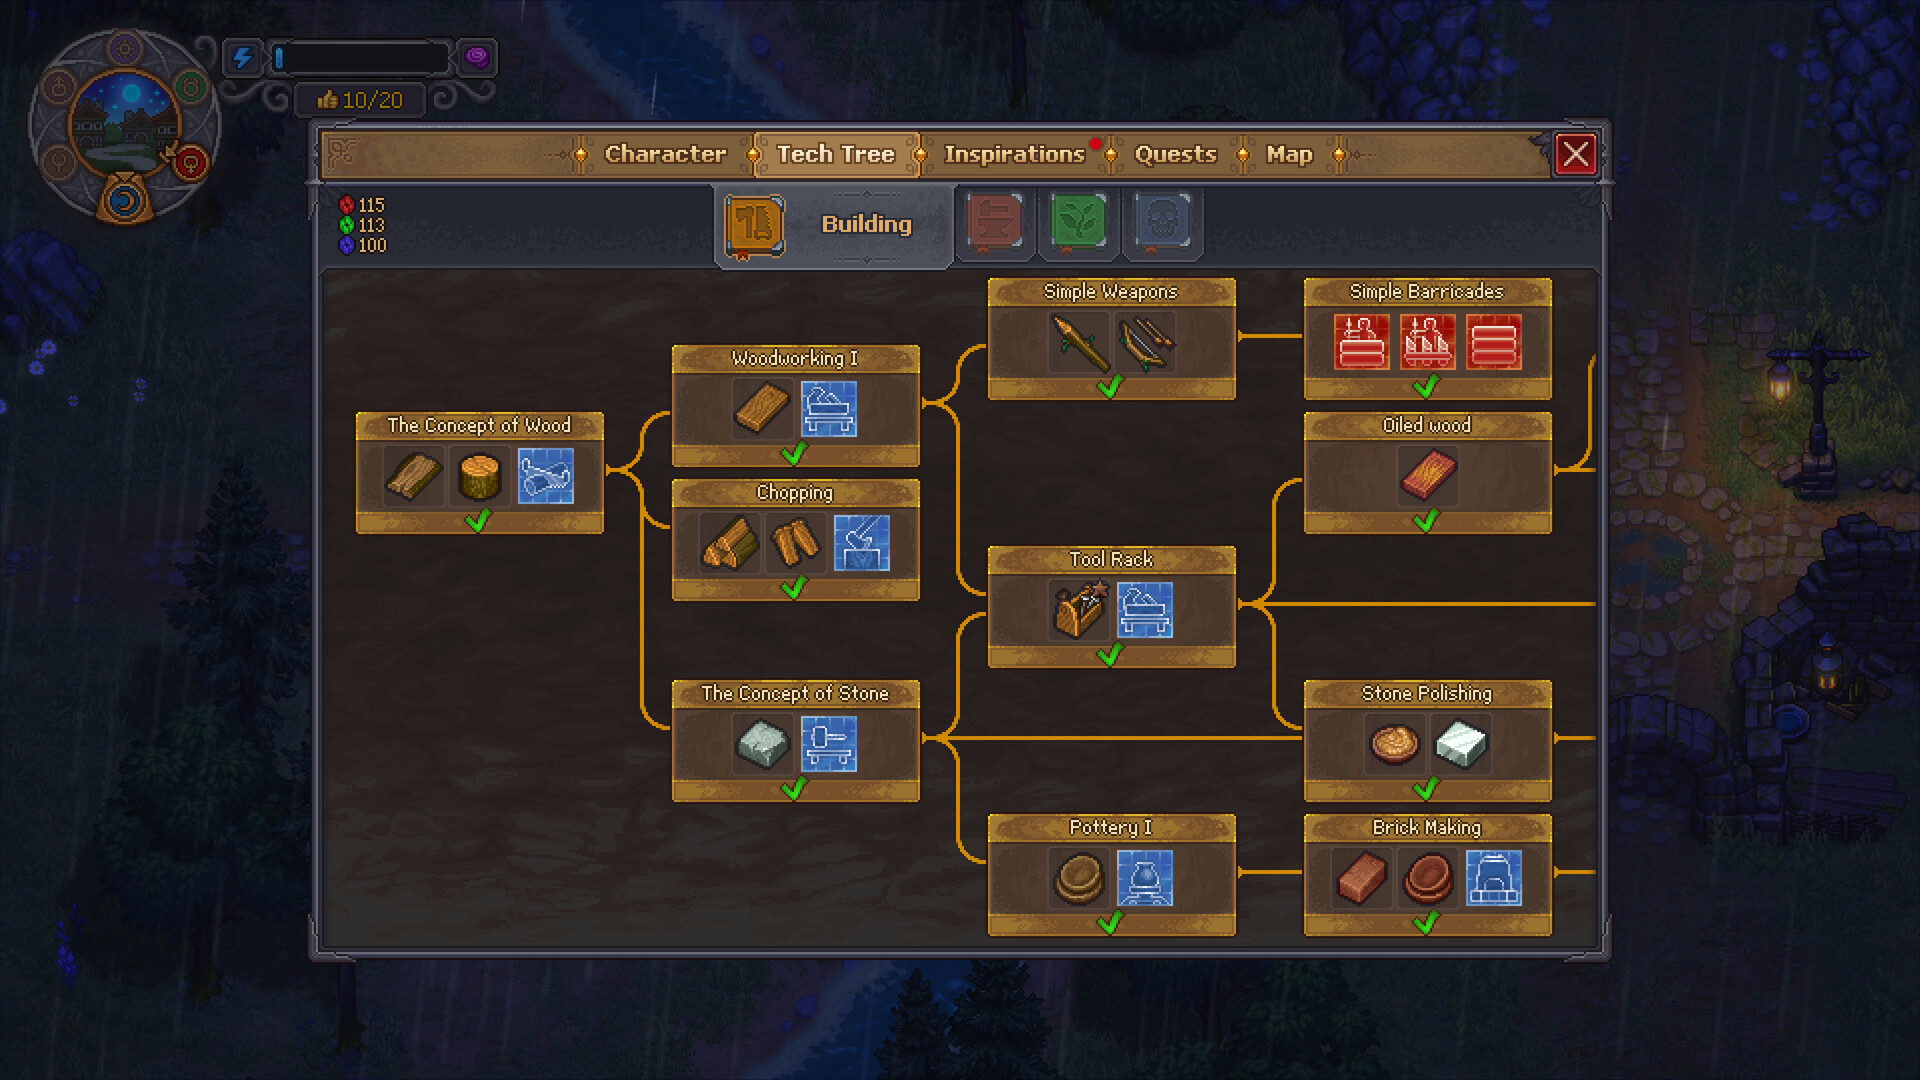
Factory Automation
The underground Factory changes the problem from “who works at this bench?” to “how does this entire line move?” The collected Iron and zombie materials describe conveyor-fed production, Zombie Carousels or equivalent power systems, supply stations, storage, and porter routes. Keep each chain short at first. Place machines close to their input and output points, check conveyor direction, and make sure a worker has the required equipment.
Power, input delivery, output storage, and worker Mastery are separate failure points. If the line stops, inspect each boundary rather than rebuilding everything. A conveyor that points the wrong way can look like a recipe problem; a missing porter can look like a storage problem; a low-Mastery worker can look like a broken machine.
A Safe Automation Order
Begin with a job you perform constantly, such as a repeatable material or food route. Add the correct tool and verify that the worker can complete one cycle before queuing a large batch. Only then add a supplier, a porter, or a Factory conveyor. This order gives you a working baseline that can be compared whenever the network expands.
The goal is not the largest zombie headcount. The useful goal is fewer manual trips and a production chain you can explain. If you cannot identify the source, consumer, worker, and storage location for an item, the line is not ready for more automation.
Source notes
This page was synthesized from the collected zombie automation guide, the linked community discussion, and the supplied gameplay transcripts. The official Steam store page is used for game context and images. Exact collar limits, weekly timings, and Factory recipes are patch-sensitive and should be confirmed in-game before being stated as universal rules.