
Graveyard Keeper 2 Battles: Zombie Army and Town Defense
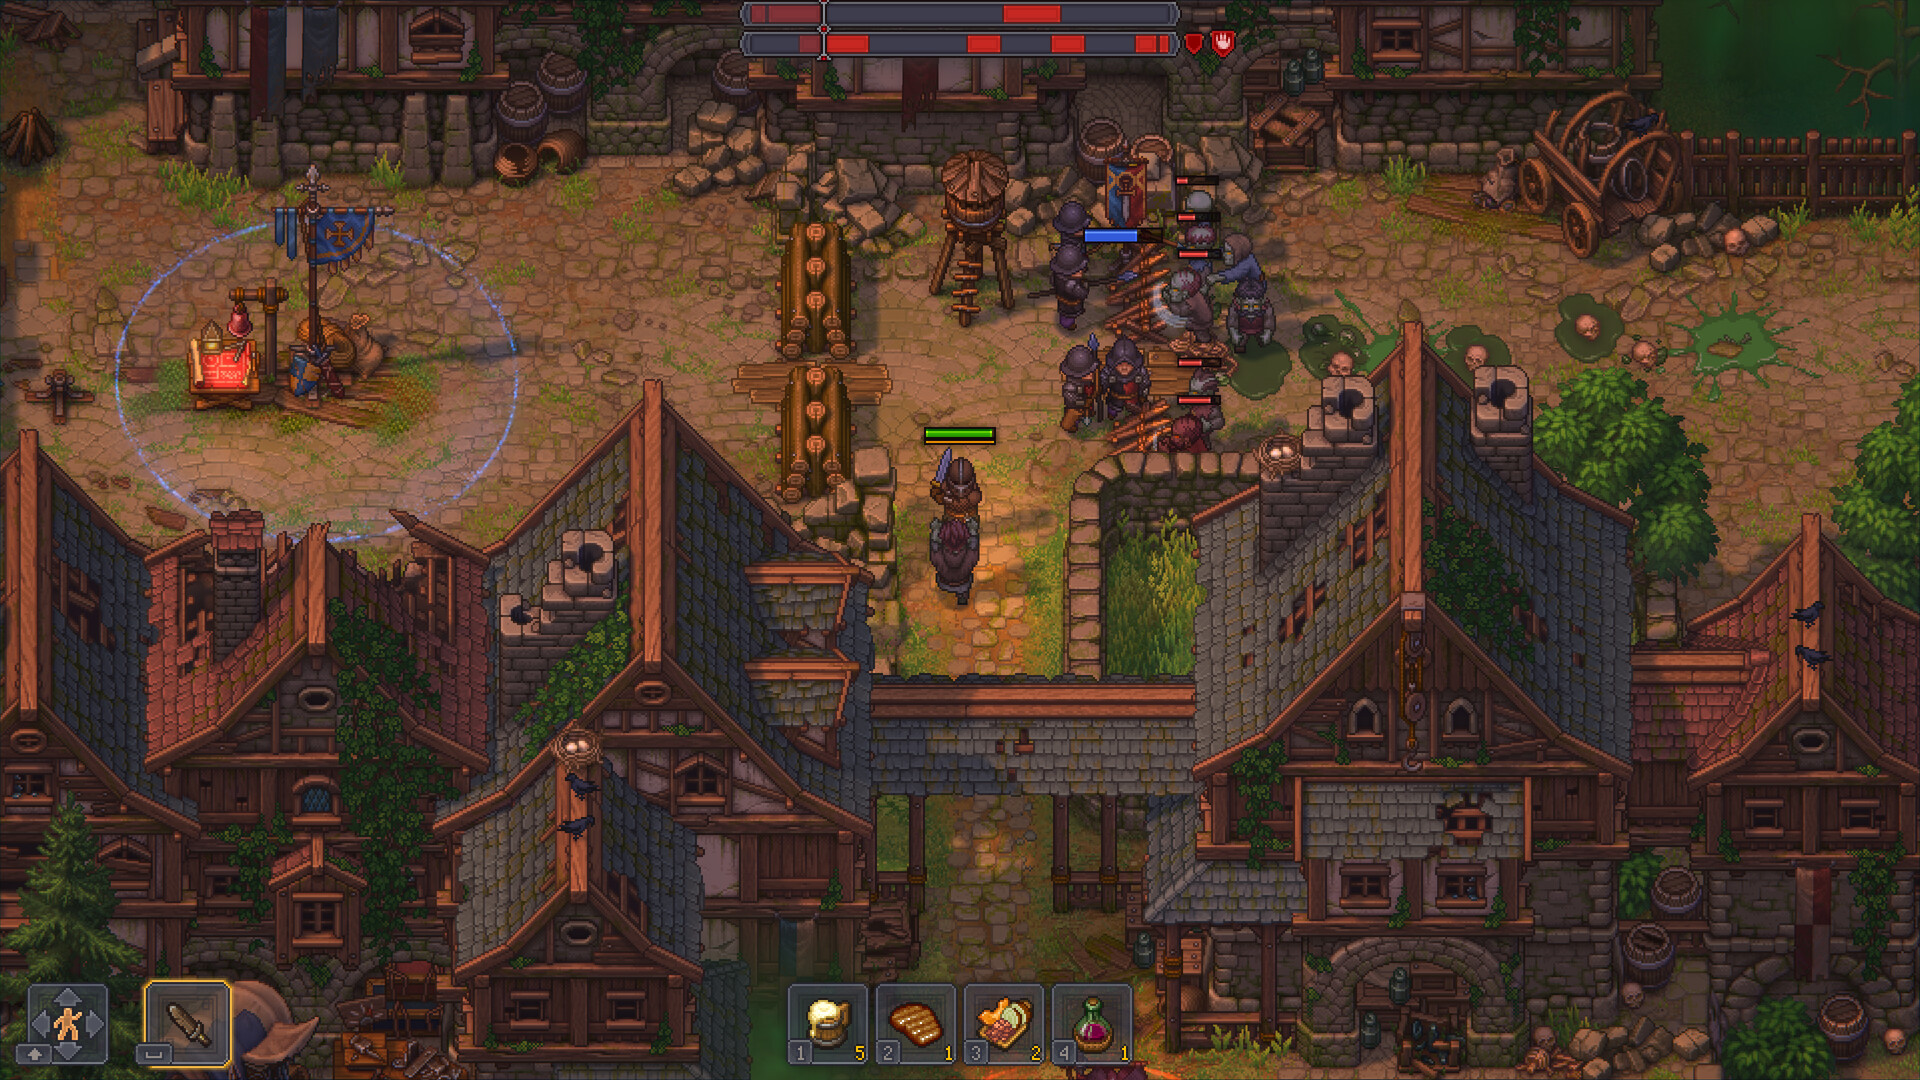
Graveyard Keeper 2 battles are objective-based fights, not simple damage checks. You recruit or prepare mercenaries and zombie squads, build defensive structures, capture marked areas, and survive waves from more than one direction. The Keeper is also an active fighter, so the safest plan combines squad positioning, barricades, ranged support, and your own attacks.
How Battles Work
Before you start, read the objective and inspect the battlefield. The collected battle sources describe flags or capture points, enemy approach lanes, defensive structures, and waves that can arrive from different directions. Winning usually requires more than staying at the entrance: you must push into the marked areas, hold them, and respond when another point is threatened.
A battle can have a second defensive phase after the first push. Do not spend every unit or potion before checking whether the location must be held again. The UI notification about a lost flag matters more than the number of enemies on your screen, because an unattended objective can undo a strong opening.
Prepare Your First Squad
Recruitment and squad capacity are progression systems. The supplied video notes connect early victories with new squad slots, while the written guide describes barracks, mercenaries, and equipment. The exact price and unit requirements can change, so inspect the current preparation screen before assuming that a particular soldier or material is mandatory.
Put ranged units where they can fire without being dragged into melee. Keep a banner or rally point available for repositioning, and do not place every squad in one lane if the battlefield has multiple approaches. If the game allows you to compare squad strength before starting, use that screen to decide whether you need more preparation or can proceed.
Capture and Defend Objectives
Flags are captured faster when more soldiers are present, according to the collected battle notes. Send enough of the squad to secure the point, then move your attention to the next threat. If one group is holding a position, you can support another lane personally rather than pulling everyone away from the objective.
Barricades and spiked barricades buy time, but they are not a substitute for fighting. Place them where they slow an approach without preventing your own units from reaching the objective. Banners can be placed on defensive structures in the supplied material, which makes them useful for organizing the next push or holding a threatened lane.
Equipment and Healing
The Keeper is described by the collected guide as the strongest individual fighter on the field. Use that advantage to remove clustered enemies, interrupt attackers hitting a barricade, and protect a squad that is about to be overwhelmed. Keep your combat stamina in mind; entering a large melee with a depleted bar can leave you unable to help the unit you meant to save.
Put health potions on the hot bar before starting. The gameplay notes emphasize that recovery is not automatic during the fight and that potions may be the practical way to stay in the battle. Protect archer towers and keep ranged units away from a melee brawl, because losing the support layer can make a later wave much harder.
The collected sources also describe gold-quality wine as a later payment for some mercenary recruitment. That is a progression-specific requirement, not a universal condition for every battle. Confirm the current recruitment screen and keep the exact wine grade marked as patch-sensitive until checked in-game.
Battle Rewards and Next Steps
Reported rewards include Town Gratitude, Zombie Goo, looter keys, a Victory Banner, and a Defender’s Emblem. Victories can also open more of the town, allow building repairs, increase population, or raise the Town Gratitude limit. Treat those rewards as a reason to connect combat planning with town restoration rather than as isolated loot.
After each battle, inspect the technology tree and active quests again. The next unlock may be tied to zombie automation, forest access, or a Factory route. If your resources are low, use the downtime to restore the production and storage chain that the next battle will consume.
What Needs Confirmation
Enemy compositions, reward quantities, squad limits, equipment requirements, and the exact battle order are all version-sensitive. The collected sources include community guides and videos, so this page keeps the tactics stable while leaving exact values to the current game UI. Do not present a fixed enemy count or a guaranteed reward without a current-build check.
Source notes
This page was synthesized from the collected Battles reference, GameRant battle guide, and the supplied gameplay transcripts. The official Steam store page is used for game context and images. Exact rewards and requirements remain patch-sensitive.