
Where to Find Iron in Graveyard Keeper 2
Iron in Graveyard Keeper 2 is an early bottleneck because the first visible deposits are not the same thing as a permanent supply. Gather the nearby ore you can safely reach, use it for the next tool or station that opens progression, and then work toward the forest and underground mine route. The collected sources describe the later zombie mine as the reliable way to keep iron moving into your base.
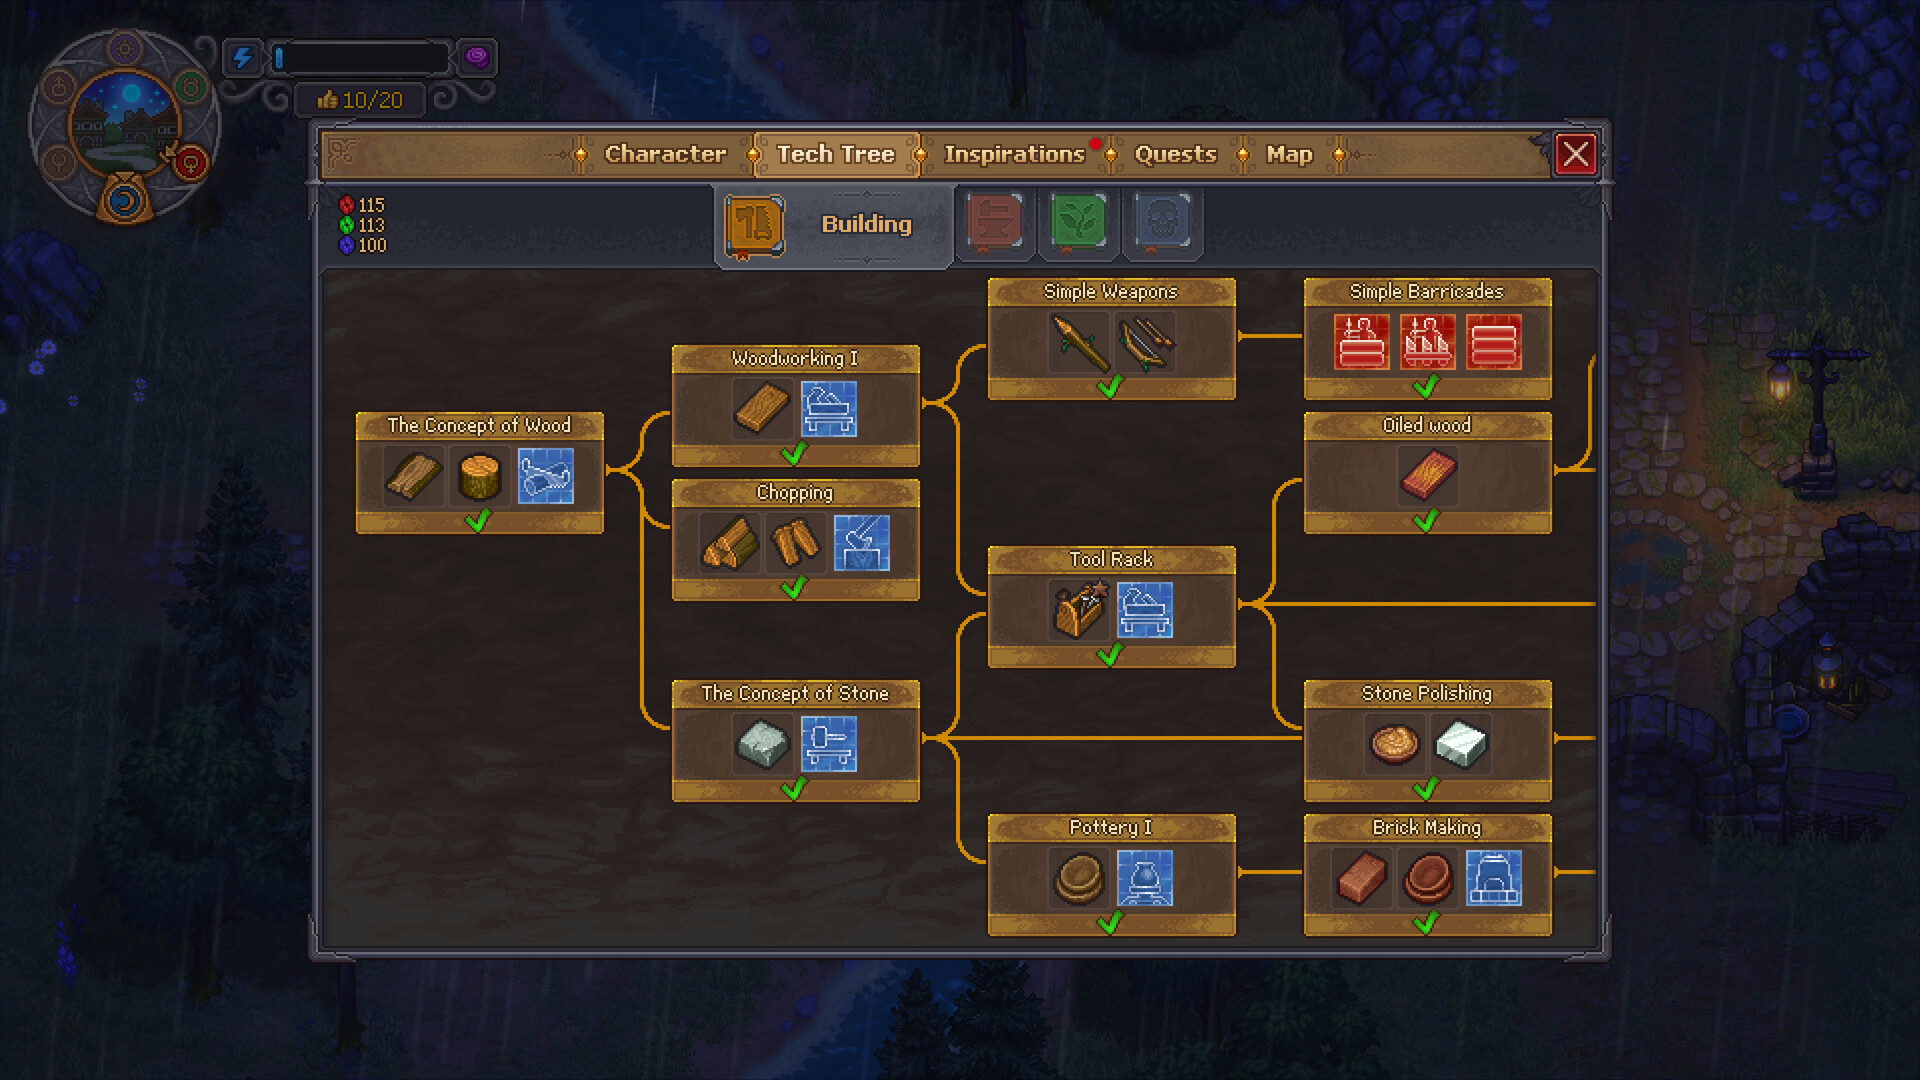
Where to Find Iron
In the early game, look for the small iron deposits that become available around the starting routes and later forest areas. These deposits are useful for getting the first tools and stations online, but the collected walkthroughs describe them as finite or limited. Do not spend the entire first supply on optional upgrades before you know which quest or recipe is next.
The exact location names and route order can vary with the current build. If a forest path is closed, follow the quest that introduces the forest and the first battle rather than trying to force the route. The materials connect forest access, a southern quest involving explosives, and a northern mine entrance to the later automated iron supply.
Iron Ore and Iron Ingots
Iron ore and iron ingots are different inventory items. Ore is the raw material you mine or transport; an ingot is processed at a suitable furnace or smithing station. The collected item data reports that an Iron Ingot can be made at Furnace II from iron ore and fuel, and that Smithy stations can also produce it. Because station recipes and fuel costs are patch-sensitive, confirm the current quantity in the recipe panel before budgeting a large batch.
Iron feeds more than one progression branch. The collected notes list tools such as an iron pickaxe, axe, hammer, and shovel, as well as iron details, nails, kits, weapons, armor, and town or Factory components. That makes the first bars more valuable than their sale price suggests. If a recipe unlocks a new mining or logistics step, it usually deserves priority over a decorative build.
Early Iron Priorities
Use the first ore for the tool that removes the next real bottleneck. A pickaxe may improve mining access; an axe or shovel may unlock a related route; a hammer may be required by a smithing station. The right choice depends on the active quest, so read the requirement list instead of copying an order from a different save.
Keep a small reserve for repairs, kits, and quest deliveries. Avoid converting all ore into ingots before checking whether the next objective specifically asks for ore, a tool, or a station component. Store iron near the station that consumes it and separate it from coal or other paired resources so a crowded chest does not hide the actual shortage.
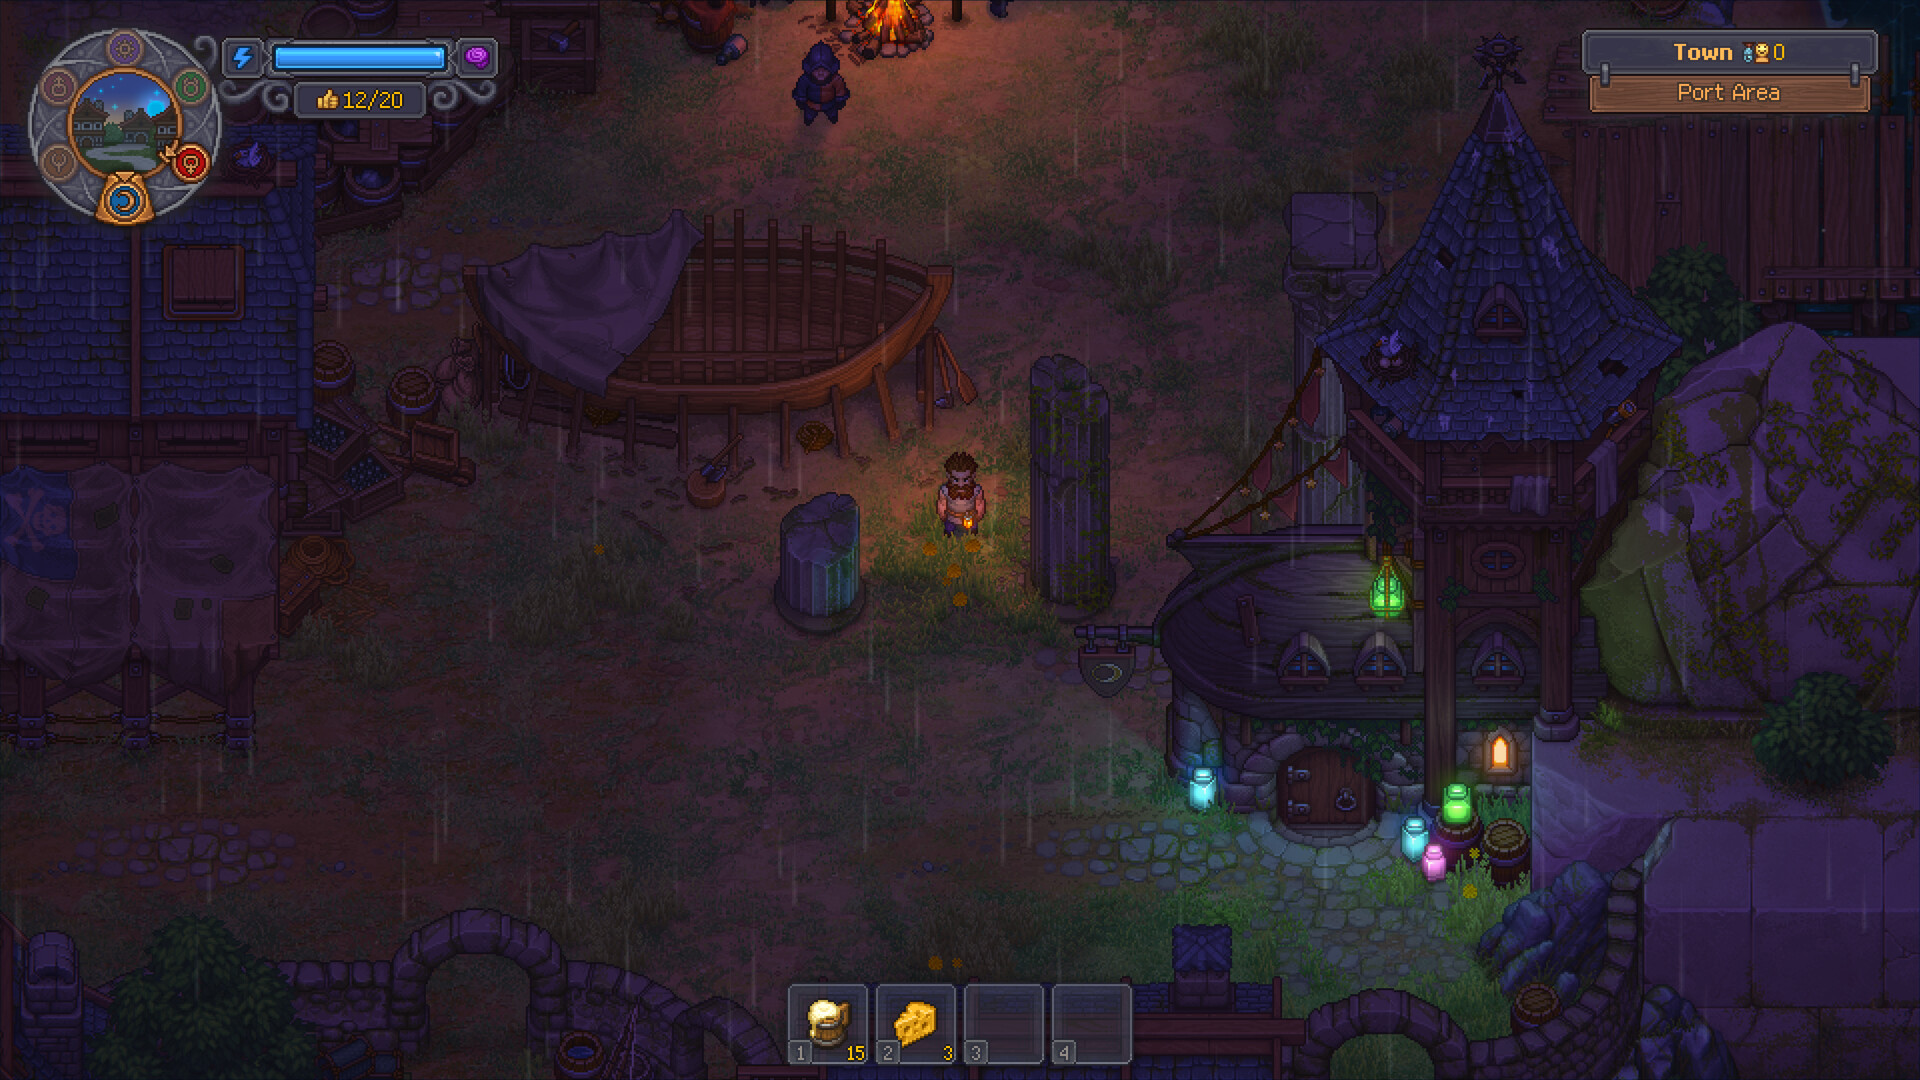
The Reliable Midgame Supply
The collected community route for an automatic iron supply has several steps. First, progress far enough to reach the forest and complete the quest that provides explosives. Then use those explosives at the relevant mine entrance and clear the blocked connection inside the mine. The source specifically warns that the mine technology may not appear until the northern path is connected to the area beneath the house.
Once the mining system is available, assign one zombie to the miner station with a suitable pickaxe and another zombie to the porter station. Configure the porter or station to move the material you actually need, such as iron ore or coal, and make sure the receiving storage is not full. A porter does not need to be your best worker; the miner’s Mastery and tool are the more important checks.
The underground Factory is a later expansion of this idea. Conveyors can move iron through a production line, but they introduce extra failure points: power, direction, supply stations, workers, and output storage. Build one short line first and confirm that an ingot completes before connecting it to a large commerce or town-restoration chain.
What Needs Confirmation
The collected source set contains community posts, item-database entries, and gameplay transcripts rather than one complete official mining table. The broad progression is useful, but exact mine coordinates, ore totals, Mastery values, fuel costs, and Factory recipes should be confirmed in the current version. This page therefore does not promise an exact ore count or a universal “best” route.
The practical checklist is simple: collect reachable ore, use the first bars for progression tools, follow the forest and explosives quest, clear the mine connection, assign miner and porter zombies, and keep the production line supplied.
Source notes
This page was synthesized from the collected iron item data, the community automatic iron route, and the supplied gameplay transcripts. The official Steam store page is used for game context and images. Exact costs, locations, and mastery requirements remain patch-sensitive.